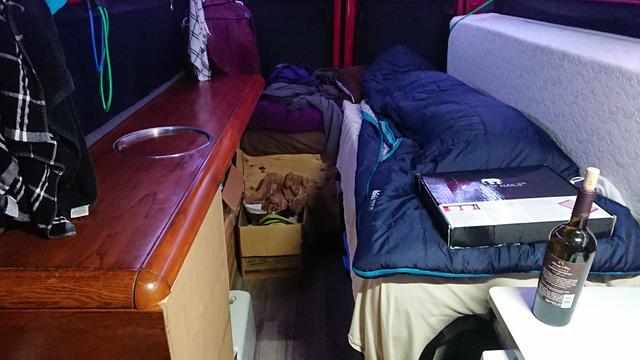
Kitchen Update for Vanessa: part 2
vandwelling ~ 2018-10-02Wow. I am so pumped about the kitchen update to Vanessa. I still have things to finish up, but all the hard part, which I needed help from others, is done! Life is different now that this is complete.
Take a look!
Main Features include:
- 70" Countertop
- 12" Diameter Sink
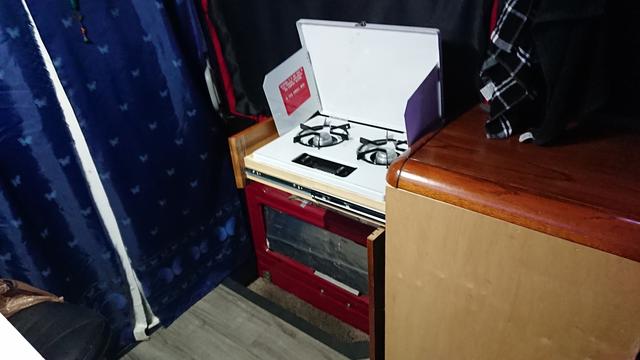
- 2 bruner propane stove-in-a-drawer
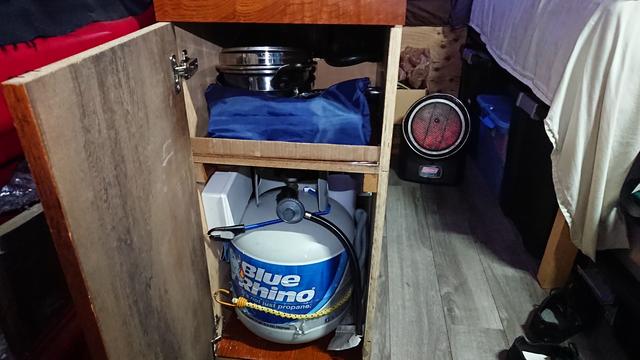
- Cabinet for 20lb propane tank
- Insulated Cooler Box
I am going to write about the novel parts of this build.
Materials & Tools
I did some cheap things here.
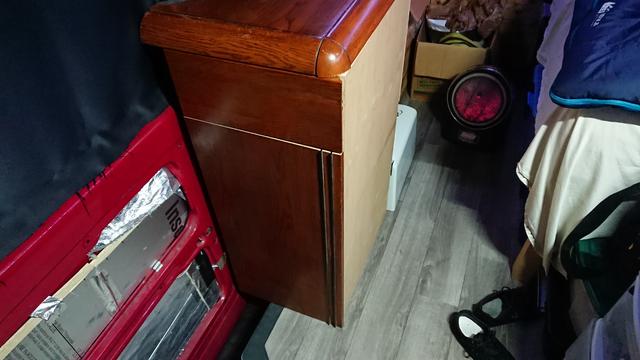
- $1 office furniture peace which I reclaimed wood from.
- A friend had some plywood lying around too.
- 1x 4'x8' sheet of plywood
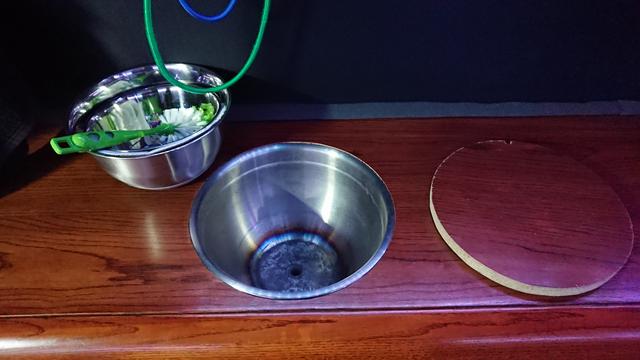
- The sink is a reclaimed mizing bowl from my mother.
- continuous hinge
- JBWeld + plastic hose coupling + vent hose for sink drain
- 4L flexible bag for grey water
I realized after we finished the reason why this furniture piece called out to me: it reminds me of my last apartment which had a similar 70's ish appearance. This made me happy.
For tooling I had a TON of help
- Table saw, Jigsaw, Router, Nail gun, clamps, Electric Drills, Dremel all borrowed from friends
- Almost nothing was my own XD, except maybe sandpaper lol
General Construction
Predominantly, boxes are held together with nails and wood glue. Things are screwed together using screws. And screws and L brackets hold the unit to the van. Aside from the Router for the sink hole this is a very basic build.
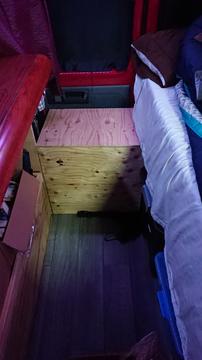
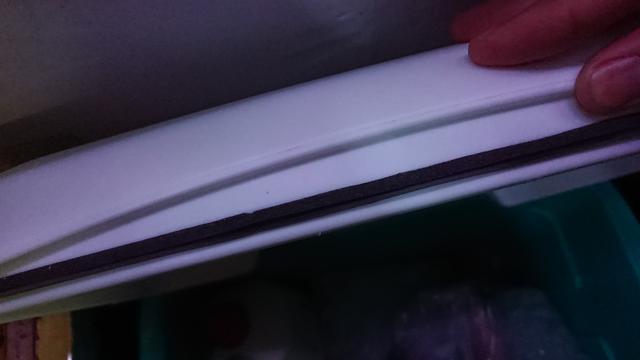
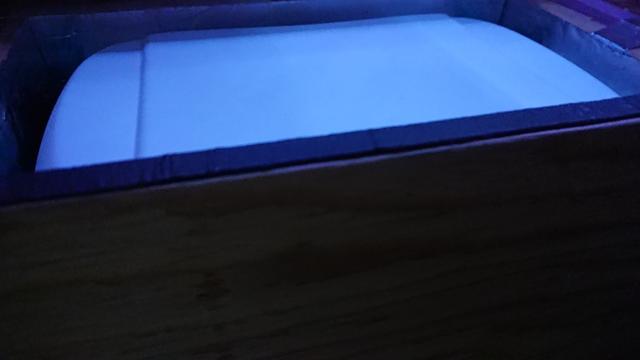
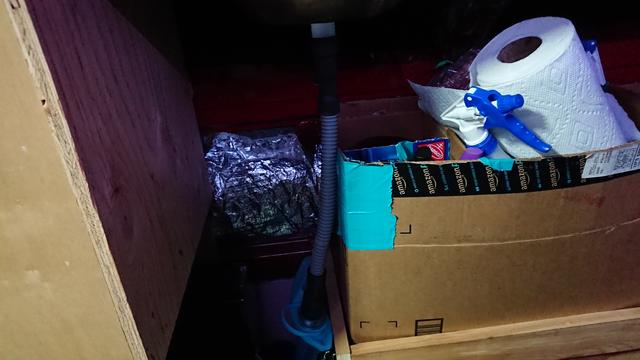
Insulated Cooler Box
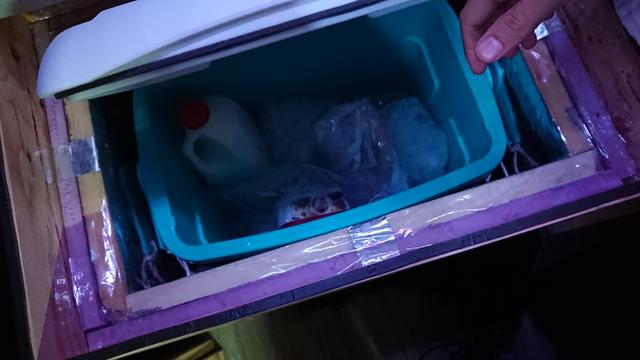
I had a bunch of leftover insulation from when I insulated. I need a better food storage system. I also needed another seat/table.
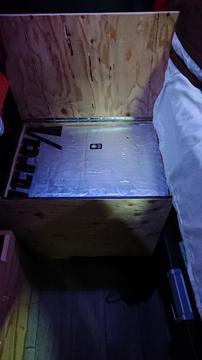
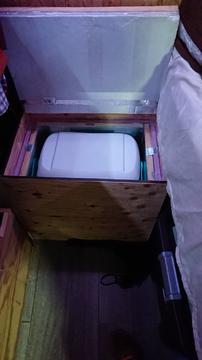
I took off the handle to the cooler, did some measuring, and cut insulation one layer at a time and dry fit them to make sure they would fit well. Afterwards I measured the the outer dimensions and cut the wood for the box using 1/2" plywood. Using wood glue and a nail gun, we then clamped it all together overnight to let the glue set and try to maintain a square box. There is NO bottom to this box. I figured it didn't need it.
Once set, I installed the hinge and realized the insulation could make a mess if I didn't do something. So I used masking tape to wrap the insulation to protect my food from any random bits falling out or something. The top layer was also such a tight fit I needed to make a handle out of tape to make it easier to take out. I plan to test what kind of difference this box makes for ice retention.
Finally, I placed some weatherstripping around the edge of the cooler and the box. I did this on the cooler itself because, as a cheap cooler, it seemed some water evaporates tothe top, settles, and finds cracks to fall out of in the seal. Hoepfully this will help all forms of air from transfering.
Sink
The sink was nightmare. Not have all the best tools made it very hard. WE wanted to use a drill press, but the press wasn't deep enough to get a hole in the center of the bowl, so we used a dremel tool to cut the hole.
Then we tried to warp the metal so it had more of a slope. This was horrifying. Thick stainless sheet metal and improper heating tools made it impossible to change the slope of the bowl. We tried using Map/Pro fuel but it just wasn't enough.
Because of this, I will have to fille a layer of resin of sorts in the bottom of the bowl, then sand to shape it into an effective slope.
Cutting the hole in the countertop was not too difficult, however because I wanted a snug fit, we had to keep making it a tiny bit wider over and over. STill it is not done so I can properly fit and seal the sink inside.
Drain, hose and grey water tank
This was a real challenge to decide on. So many routes here. But I had a couple requirements.
- Grey water tank MUST fit in my backpack so I can bring it into bathrooms for dumping
- Smallest profile possible in sink to have maximum space
This led me to the idea of putting a coupling on the bottom glued into place. Because the sink isn't depressed for an average sink drain I didn't want to try and work around that, nore the challenge of sealing it all. Once I settled on this it became a test to find the right kind of hose. I found it in a vent hose which had the right type of adapters on the end.
The grey water tank option took a lot of research. The flexible bag option came up to me last and I was lucky this had lashe points. The bag is suspended using QuestionMark Hooks screwed into my wheel well box.
Cabinet and Drawer
Nothign too special here. I was very lucky the depth of the stove fit my max dimensions for hte cabinet, barely. We had to file out a groove in a wall of the cabinet to make room for the pin of the hinges.
We made a simple box with nails and glue, the smallest drawer box possible for the stove, and a simple shelf for storage. We cut a hole in the bottom of the cabinet for the propane tank to sit in to help keep it stable. In hindsight I cut it too big and has some play in it. Might try to fill the edges with something to fix that.